DIY: Leak Prevention and Detection
We should also mention that leaks can come from within in the form of failed plumbing. A minor plumbing leak can be more insidious because it could drip away for some time before being detected. A major plumbing leak is far more likely to be dealt with immediately as it will be readily detected.
We haven’t tackled tracing leaks or repairing leak damage here, as it usually goes way past DIY territory.
PREVENTION
TYPES OF SEALS
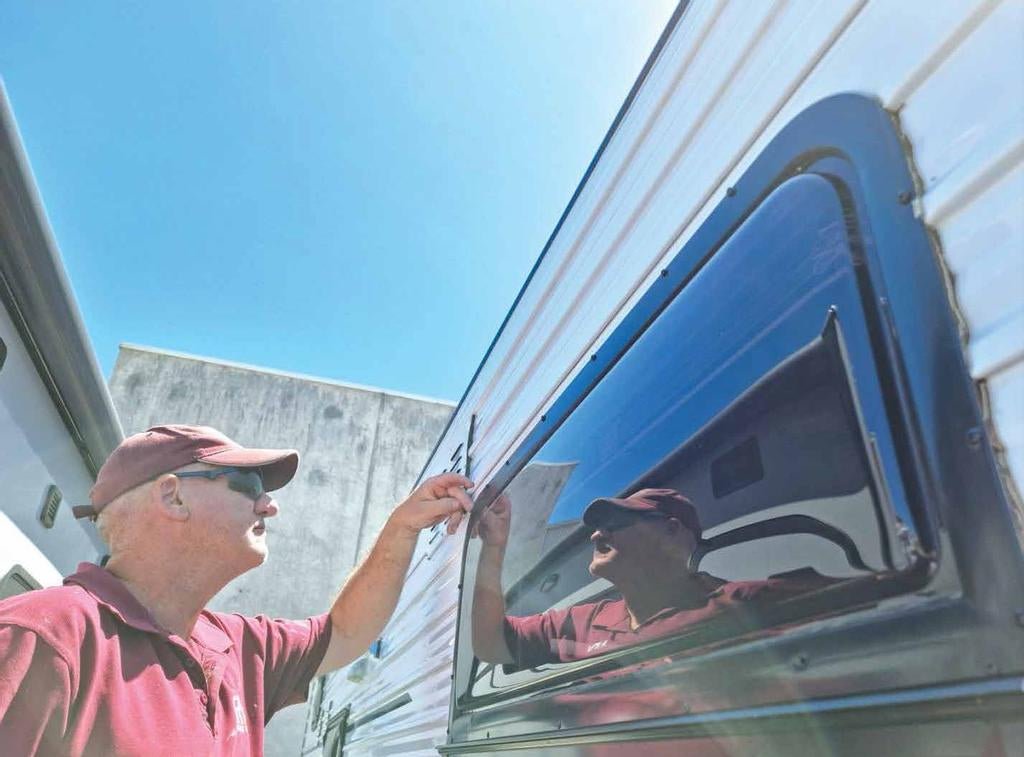
Prevention is largely achieved by visually inspecting the quality of your seals. Most caravans will have a variety of seal types used on it. The most extensively used seal is silicone. It is a tried and trusted method, but it doesn't last forever. The lifespan of silicone is five years, then it will start to break down. It can appear to be OK for years but inevitably small leaks will eventuate. Premature failure can occur due to poor surface preparation or the application of an inappropriate silicone. When inspecting the silicone, look for areas where the adhesion may have failed causing lifting, breaking or areas of discolouration.
Another common seal is the J-mould often used to join the roof and walls. Look for signs of the corner mould infill having cracked or perished. Also, peel the corner mould infill back and inspect the fasteners for signs of corrosion. If they are corroded, there is a good chance water is getting in.
H-moulds and similar are often used to join sheets together. They generally have a combination of fasteners and silicone working together to create a seal. If the silicone fails, this can be a water ingress point with pooling water or even water being forced in while driving in the rain.
Window seals, particularly at the top, are another potential leak point. Sometimes window seals are formed with silicone and sometimes with a foam strip. In either case, inspect for signs of the seal coming away or deteriorating.
WHERE TO CHECK SEALS
Starting at the roof, there are typically cutouts for an air conditioner, roof hatches, dust pressure units and vents. There could be fastener mounting holes for solar panels and aerials.
Moving to the vertical surfaces of the van check the front boot, windows, doors, side hatches, various mounting points for lights and other electrical fittings, vents and anything else you can see.
EXTRA PREVENTION TIP
An extra prevention tip is water can be prone to pooling on the roof. If the van needs to be left unused in the elements for a period of time, wind the jockey wheel up to make the roof slope so water runs off.
EARLY DETECTION
There are a variety of methods you can use to help pick up leaks. And repeating the point, early detection is key to avoiding expensive repairs. If you catch leaks early you will find minor traces of the telltale signs. If you find leaks late the sign will be more pronounced.
Visual inspections are a good way to start. Check over the exterior of the van for signs of bubbling or broken paint. In a metal clad van this is a sure sign water has penetrated and caused corrosion. Unfortunately, the bubbling paint pictured here may well have gone past the early detection stage.
Moving inside, check internal surfaces for stains and discolouration. Surfaces peeling away, swelling timber or other kinds of deformation such as wrinkling are also indicators that a leak has gone past the early detection stage.
Just feeling your away around pushing to find spongy surfaces is another way to find where water has been. Taking it a step further a fine metal probe can be used to confirm ‘soft spots’ — something as simple as the end of a paper clip or a map pin will do the trick.
If you catch it at the right time, you might smell a leak before you can see any signs of it. Particularly, if it is warm a damp area can give off bad odours within a day or two.
Something slightly more high tech than your eyes, nose or a paper clip is a moisture sensor. Having said that, you can pick one up at a hardware store for around $50 and they are very simple to use. The sensor has two small metal probes that you push into the surface you want to measure. It gives a moisture reading as a percentage. Barring, high humidity you would be wanting to get a reading of zero per cent. You need to keep in mind that you could get a dry reading simply because it has not rained for a while and the leaky area has dried out.
IF IN DOUBT, CONSULT A PROFESSIONAL
Improper maintenance could lead to injury, death or property damage. Maintenance work of this nature should only be undertaken by persons with suitable mechanical competence. Information provided is general in nature, not comprehensive and can only be taken as a guide. Individual discretion must be exercised and persons undertaking described tasks do so completely at their own risk. Publishers and creators of this content accept no responsibility for loss or damage.
Thanks to Andrew Phillips and the team from the RV Repair Centre, 120 Canterbury Rd, Bayswater North Vic 3151, Ph: (03) 9761 4189.